While Avicenna’s triggering logics cover most use cases, you may want to prompt surveys on personalized schedules that require a more flexible approach. For complete flexibility, we offer the following options:
- Release an activity to instantly deliver it to participants (for example, when immediate action is required).
- Schedule individual sessions through the calendar interface.
- Upload a CSV file to schedule sessions for multiple participants and activities within your study, all in a single upload.
In this article, we’ll focus on the third approach.
The Situation
Your participant pool includes individuals scheduled for surgery on different dates. You want to prompt each participant with a daily survey at 9:00 AM for the 10 days immediately following their specific surgery date.
What to Do?
To set up this personalized schedule, you will first prepare the necessary surveys in Avicenna and then generate the CSV file for upload. Before you begin, please review the important rules below to ensure your upload is successful.
[!note] CSV Upload Rules:
- The file must be under 1MB and have no more than 10,000 rows.
- Sessions can only be created for active participants.
- Each
scheduled_timemust be at least one hour in the future and fall within the participant’s specific participation period.
Step-by-Step Instructions
-
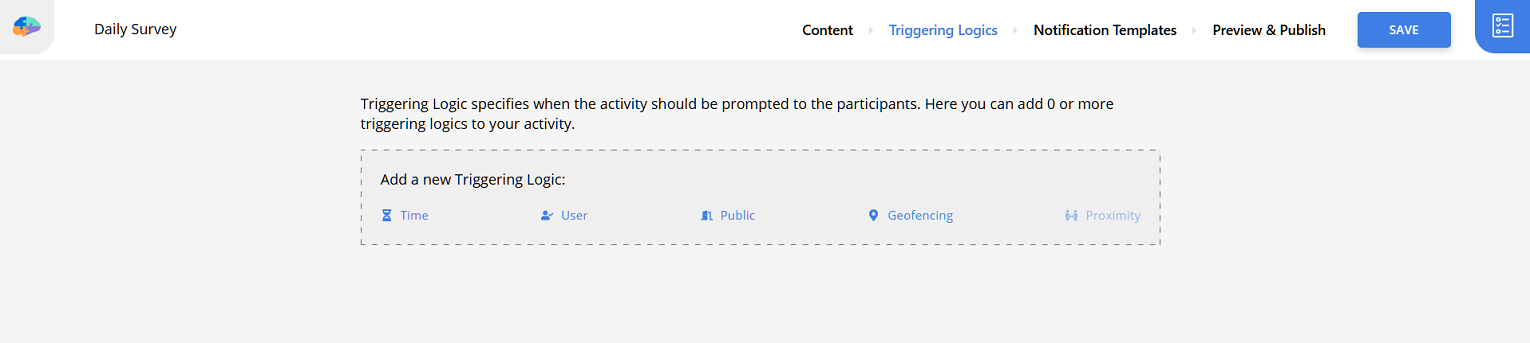
Create your daily survey. Add your questions, but do not add any triggering logics, and delete the existing default triggering logic. Save and publish the survey, ignoring any warnings.
[!note]
If you want to link a notification template to your survey, you need at least one triggering logic; otherwise, the system won’t let you publish the survey. As a workaround, you can add a dummy Time triggering logic and set its criteria to1 != 1, which will always be evaluated toFalse, prompting no sessions. -
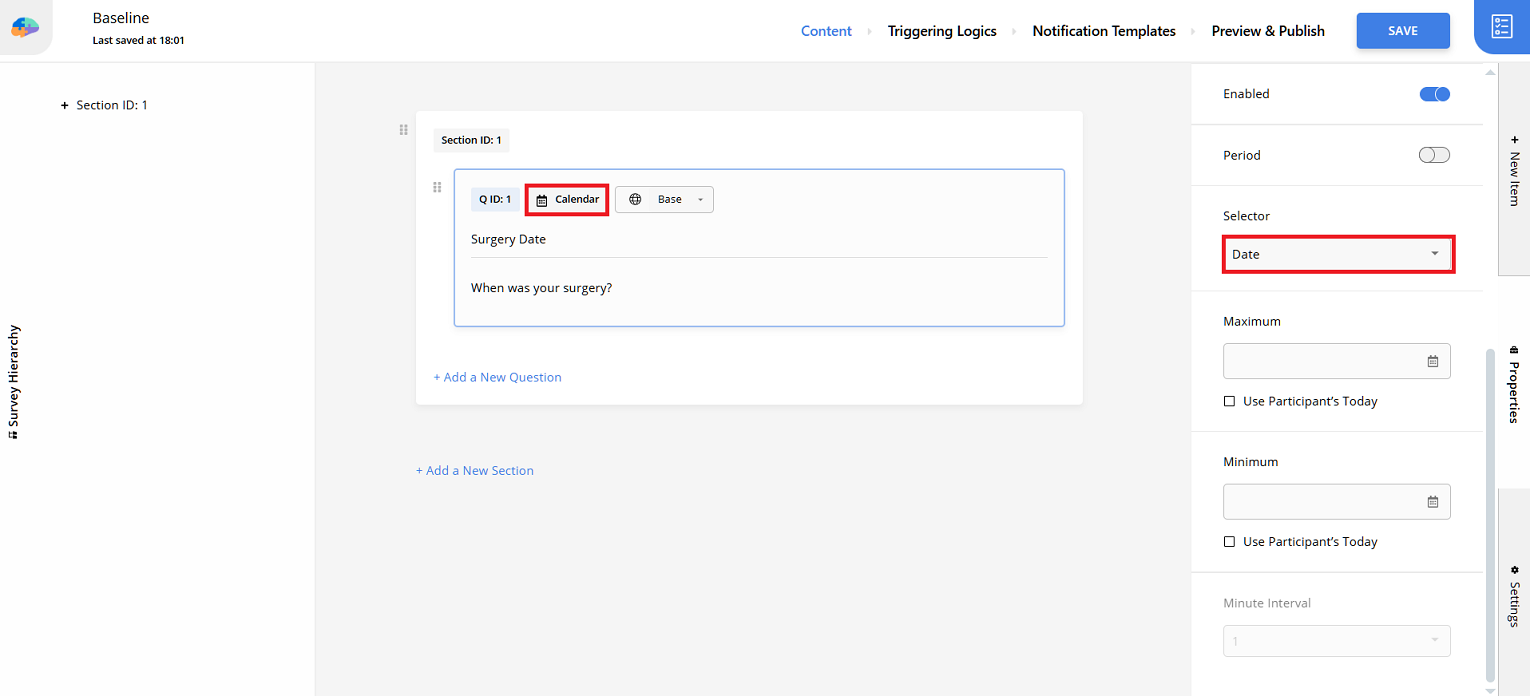
Create a baseline survey to capture the surgery date for each participant. The survey should contain one calendar question with its
Selectorset toDate. You can also add other questions to this survey if needed. -
Create and link a notification template to the baseline survey to get notified whenever a participant submits the baseline survey. This is essential to ensure the timely scheduling of sessions.
-
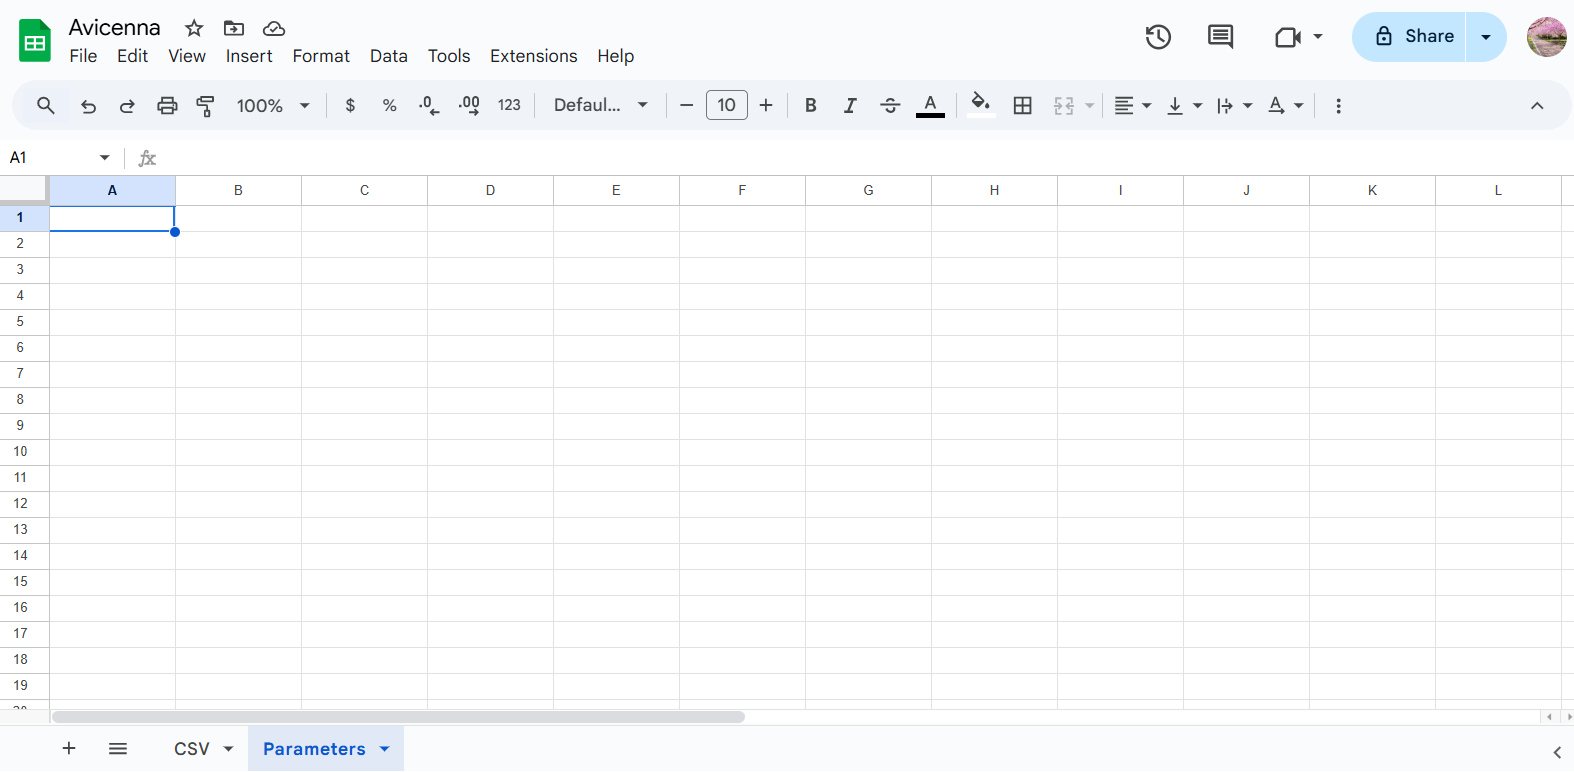
Prepare your CSV file for upload. You can use tools like R, Python, Excel, or Google Sheets. For this example, we will use Google Sheets. Open your spreadsheet. Create two sheets. Let’s name the first one
CSVand the second oneParameters. -
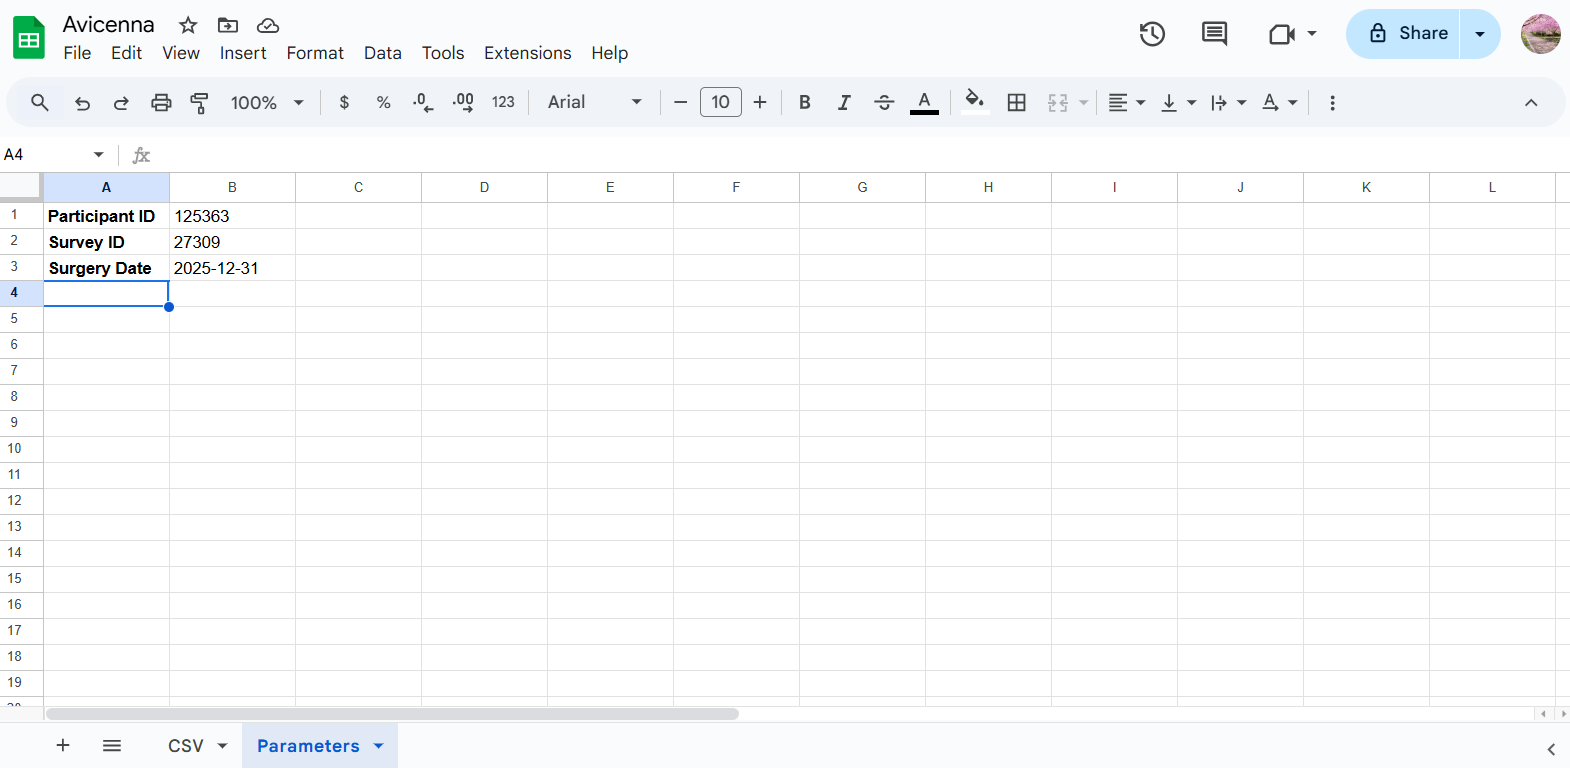
Define parameters. In the
Parameterssheet, set up values forParticipant ID,Survey ID, andSurgery Date. -
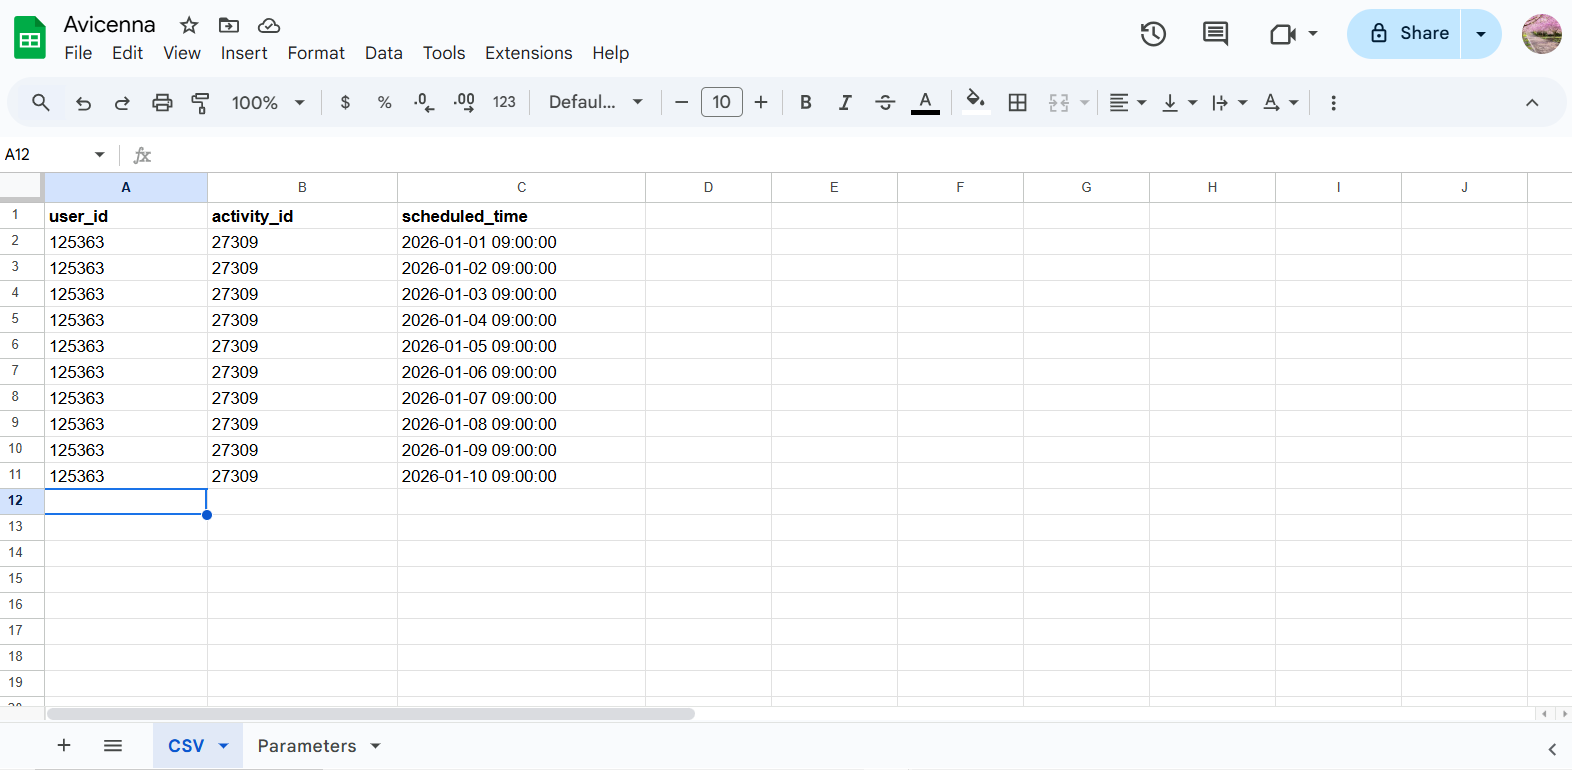
Populate the CSV sheet. Create three columns:
user_id,activity_id, andscheduled_time.- user_id: Use
=Parameters!$B$1. - activity_id: Use
=Parameters!$B$2. - scheduled_time: Use the following formula to generate the required
YYYY-MM-DD HH:MM:SSformat:=TEXT(DATE(YEAR(Parameters!$B$3), MONTH(Parameters!$B$3), DAY(Parameters!$B$3) + (ROW() - 1)) + TIME(9, 0, 0), "yyyy-mm-dd hh:mm:ss")
- user_id: Use
-
Download the
CSVsheet. To do this, go to File > Download and choose Comma Separated Values (.csv). -
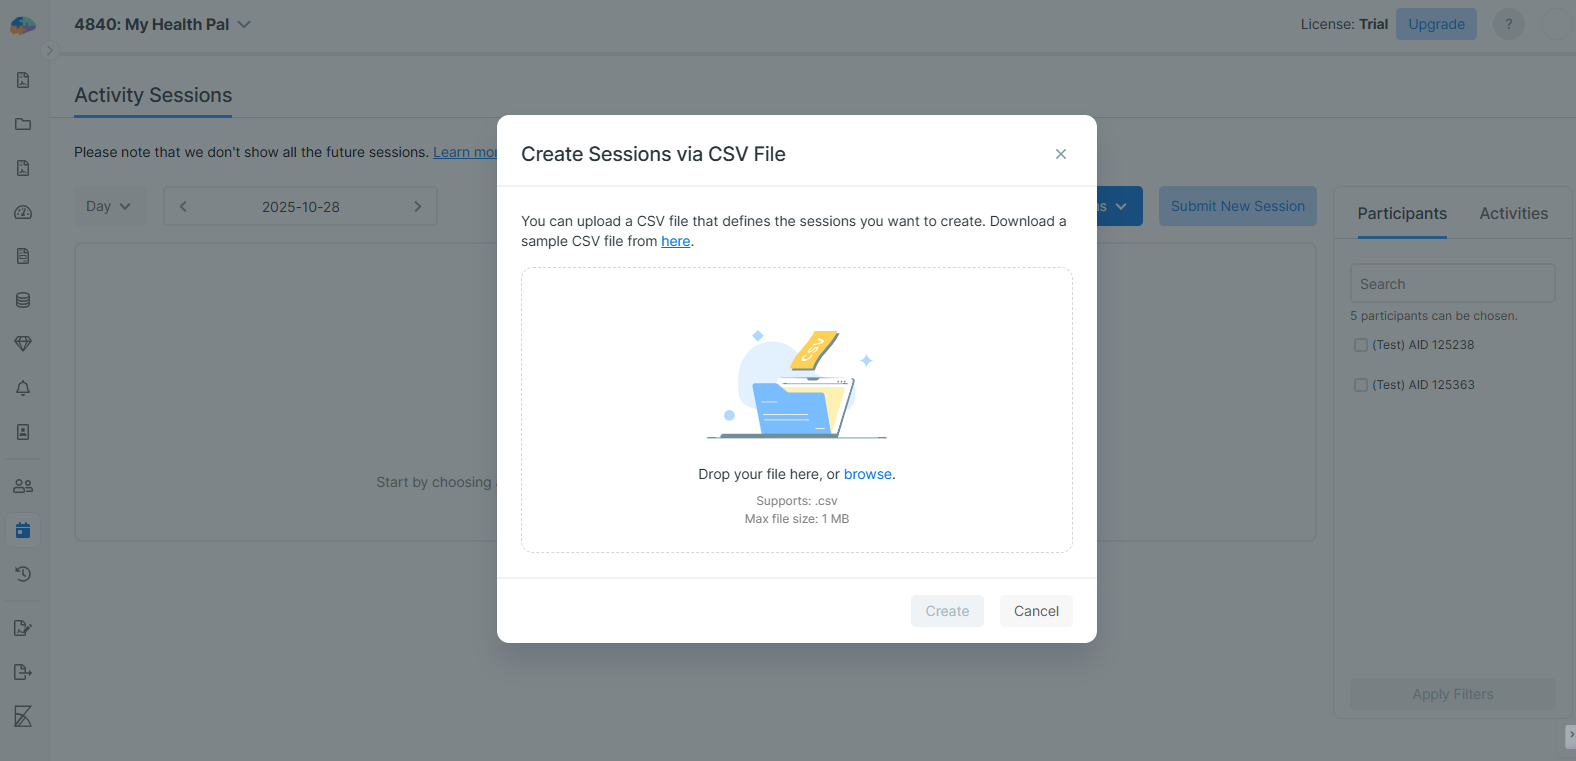
Upload the CSV file into Avicenna. On the Activity Sessions page, click Create New Sessions and select Create via CSV File.
-
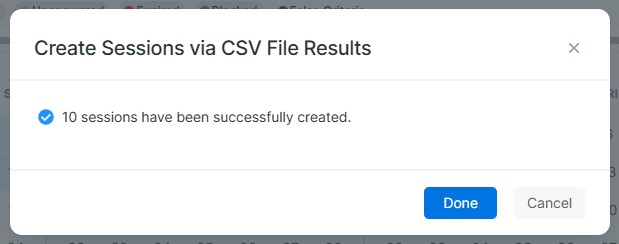
Review the upload results. After the upload is processed, a summary dialog will appear. It will show you how many sessions were created successfully and list any that failed, along with the reason for the failure.
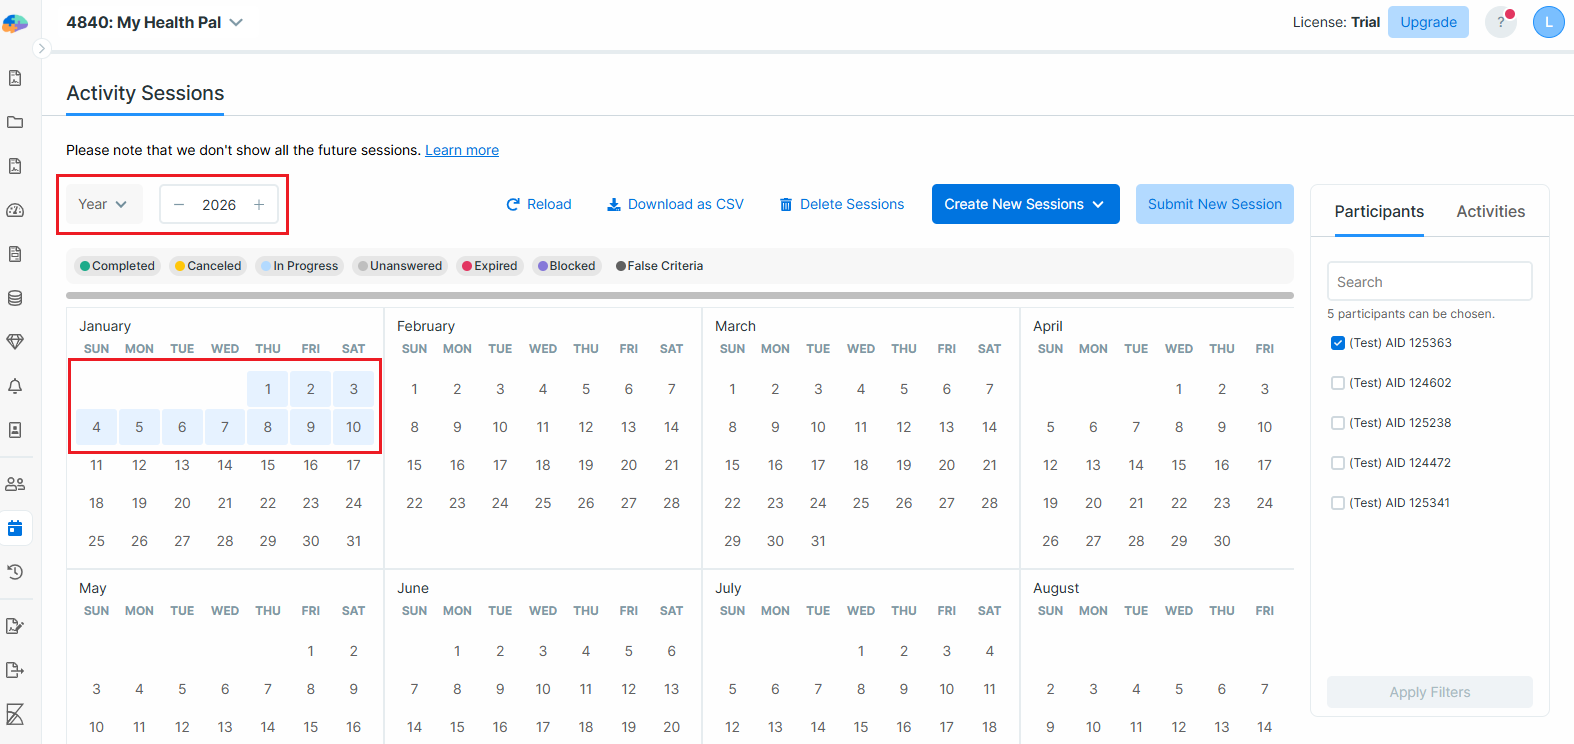
To see the generated sessions more easily, you can switch to the
Yearview mode.


Pro Tips
For simplicity, this guide does not consider participant time zones or daylight saving time. The date/time values will be in UTC when uploaded, and after the upload, you might notice a shift in the time (and probably date). You can define the participant’s timezone or the date range for daylight saving time as new parameters and adjust the formula for the scheduled_time column accordingly.
[!note]Good to Know:
- Sessions created this way are known as “researcher-defined” sessions.
- A successful upload automatically triggers a device reload for the participants you scheduled sessions for.
- If your study has the “Capture Reason for Changes” feature enabled, you will be prompted to enter a reason before the upload is finalized.